
This article explains how to use the Cropster Origin App to record coffee deliveries and also to create Batches.
The Cropster Origin App also works on iOS and Android.
- Logging into the Cropster Origin App
- Registering Batches
- Dividing Batches
- Managing Batches
- Contacting Customer Support
Logging into the Cropster Origin App
By following the steps below you can log into the Origin App:
Prior to accessing the Cropster Origin App, ensure that you have configured the following two settings on the online platform C-sar:
- The user has been assigned permission to create Batches for a Mill.
📚 Learn more about permissions. - At least one Process has been created for the account.
📚 Learn more about Processes.
- Navigate to origin.cropster.com .
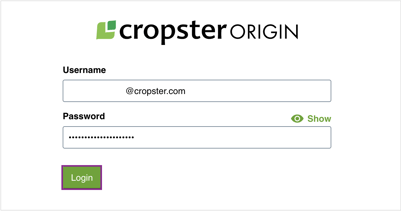
- The user name is the email address your Cropster invitation has been sent to and use the password you've generated when accepting the invitation.
- Click on Login to proceed.
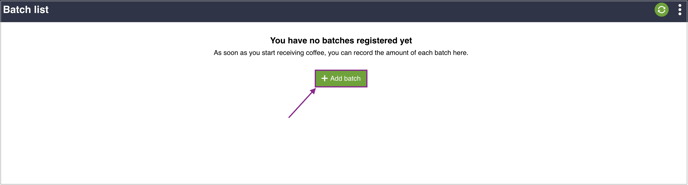
- You will be directed to the Batch list page.
Registering Batches
By following the steps below you can register Batches:
- By clicking on +Add batch you can add new Batches as soon as you start receiving them.
- You will be directed to the Register coffee page.
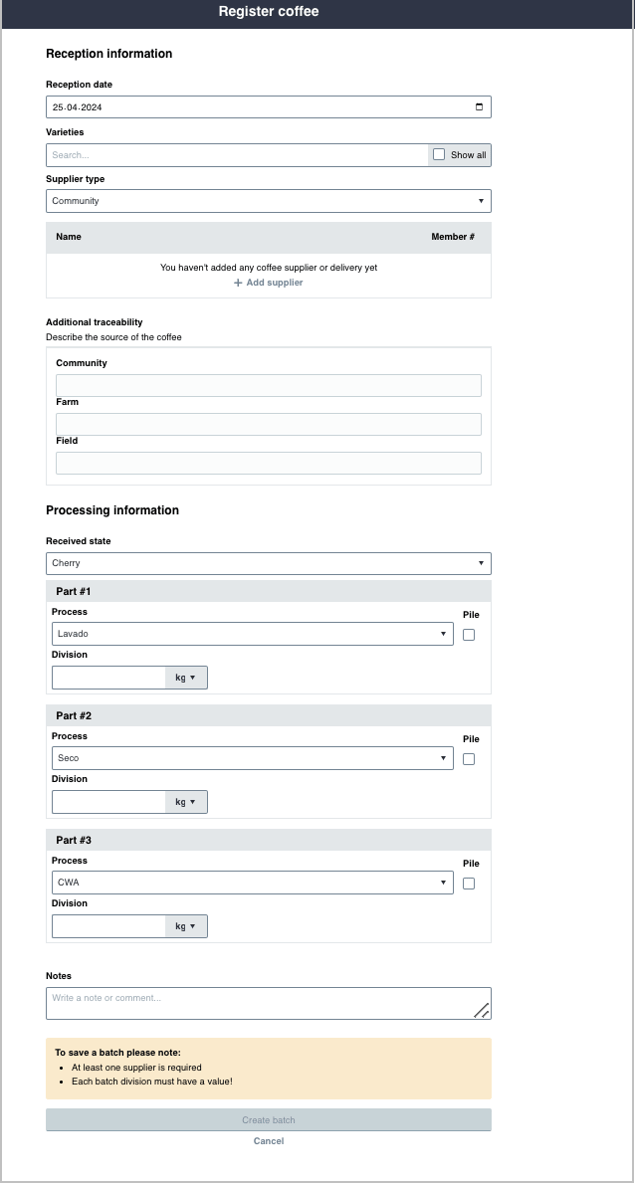
- Enter the following details:
* is indicating mandatory fields
- Reception date
- Varieties
💡 When selecting the Varieties, check the Show all box then tap the name of each variety that is part of the lot. When you are finished, uncheck the Show all box again to hide the remaining varieties. - Supplier type
💡f you have selected a Supplier type and entered a supplier, the Supplier type will become disabled. In order to change the type, you will need to remove all entered suppliers from the boxes. Once all suppliers are removed, the type selection will become available. - Name of the supplier*
💡 If a new name is entered, then a new supplier will be created.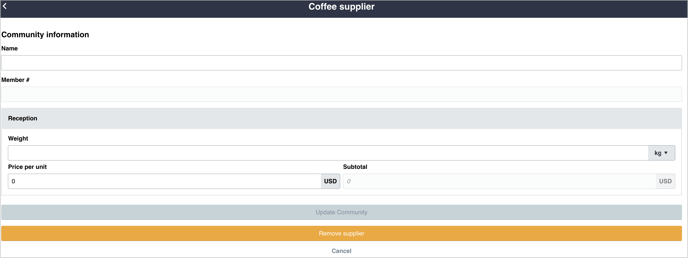
- Received state
- Process*
💡 The available Processes will vary based on the chosen received state in the previous steps. - Division
- Notes
- To provide additional traceability, it is also possible to group by the following fields:
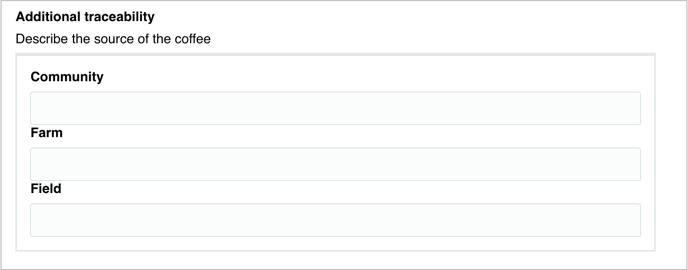
- Community - A group of farms
- Farm - A group of fields
- Field - A group of pickers
- Click on Create batch to submit.
- At least one supplier is required.
- Each batch division must have a value.
- The received weight can’t be blank.
- The Process can’t be blank.
Dividing Batches
This feature allows you to split the delivered coffee into 2 or 3 distinct Batches, providing flexibility in managing different qualities or processing methods.
Use this if you are sorting a single delivery of coffee into different parts depending on quality. For example: if your Wet mill uses a mechanical separator, then the floaters and under ripe cherries will be divided from ripe cherries; and each part can be tracked individually using batch division.
By following the steps below you can add the Batch division during coffee registration:
- Click the toggle button next to Batch division.
- Choose the number of batches the coffee should be divided (2 or 3)
The divided Batches are labelled A, B, (C) - Enter a number into each percentage field next to the Batch labels. The sum of all the numbers must equal 100%.
- Select the Processes that describe how each of the divided Batches will be handled by the Mill.
You cannot change the number of Batch divisions after coffee has been registered.
Managing Batches
📚 Learn more about managing Batches (video).
Customization
By following the steps below you can add the information you wish to track your Batches with:
- Once you already have registered Batches the Customize button will appear next to the green +Add batches button.
- By checking the respective checkboxes you can show or hide the following information:
- Harvest date
- Reception date
- Process
- Received weight
- Variety
- Supplier
- Community
- Farm
- Field
- You can also choose to sort the Batch list in Ascending or Descending order.
Synchronization
Ensure that the data collected using the Cropster Origin App is synchronized with the online platform whenever an internet connection is available.
Prior to synchronizing, ensure that you are happy with the details for each Batch. Please note that once the Batches have been synced, you cannot edit this information using the Cropster Origin App. Any changes to the information can only be made via the online platform C-sar.
By following the steps below you can synchronize your Batches:
- Press the green
 Synchronize on the top right side of the page.
 - A window will pop up and you need to click on Synchronize to continue.
- When the Synchronization process is finished, a message will confirm if the sync was successful or not.
- Press Close to return to the Batch list, or View logs to see any errors that may have occurred during the sync process.
An unsynced batch is indicated by an exclamation mark (!) next to it.
💡 We recommend synchronizing at least once a month.
By following the steps below you can update the information recorded for any unsynced batches.
- Click on the ID number of the Batch you want to update.
- After you make the required changes, press the Update batch button at the bottom of the page.
You may also choose to delete any unsynced Batches. Please note that deletion is irreversible.
Viewing logs
Every time the Synchronization button is pressed a log file is created. These log files are useful if there is an error with the sync, since it will help Cropster solve the problem.
- To view the logs, press the 3-dot Menu button in the top right corner of the screen, next to the sync button.
- From the list press View logs.
- The list is ordered with the most recently created log first. The date and time the log was created is visible alongside a green checkmark (for a successful sync) or a red X (if the sync missed or contains at least one unsuccessful item). By pressing the arrow to the right of the log you can show or hide the details.
Contacting Customer Support
It's important to know whenever a question occurs besides the Helpdesk Knowledge base, our dedicated Team is also here to help you.
Just submit a ticket and we will get back to you as soon as it is possible.
In case of an unsuccessful sync, it would be helpful to provide a screenshot of the log file or share the error message with us. Thank you for your cooperation.
Related content
Congratulations! You are now ready to use the Cropster Origin App.
Your opinion matters. If you have further questions, feedback, or concerns, please feel free to reach out by submitting a support ticket directly from support.cropster.com .