The Mobile App can be used offline to record coffee deliveries and create batches
This browser-based application works on both iOS and Android.
This manual covers:
- Getting started with the Origin mobile app
- Registering batches
- Managing batches
- Synchronizing the batches
Getting started with the Origin mobile app
Downloading the Origin mobile app
- To get the app, visit origin.cropster.com.
- When prompted to add Cropster Origin to your Home Screen, click the Add button. This will create an icon to access from your normal app menu.
Logging in to the Origin mobile app
Before logging into the app, please make sure the following settings are configured online at c-sar.cropster.com:
- The user has been assigned permission to create batches for a mill, see Assigning permissions.
- At least one Process has been created for the account, see Creating processes.
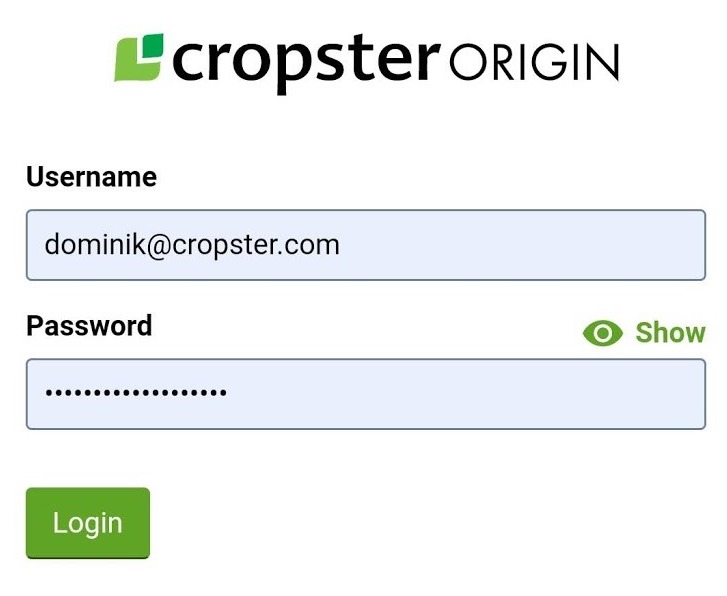
The user name is the email address your Cropster invitation has been sent to and use the password you've generated when accepting the invitation.
Registering batches
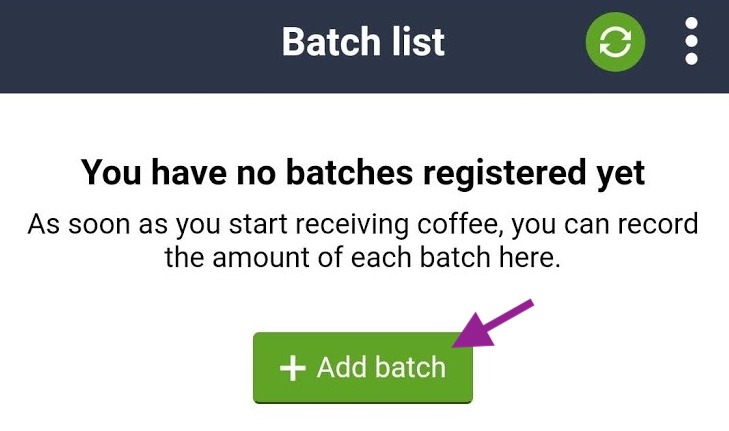
- From the Batch list screen press +Add batch.
- Enter the Reception Date and Harvest Date (by default, today’s date will be entered)
- Choose a Supplier type (the choices are: Community, Farm, Field or Picker)
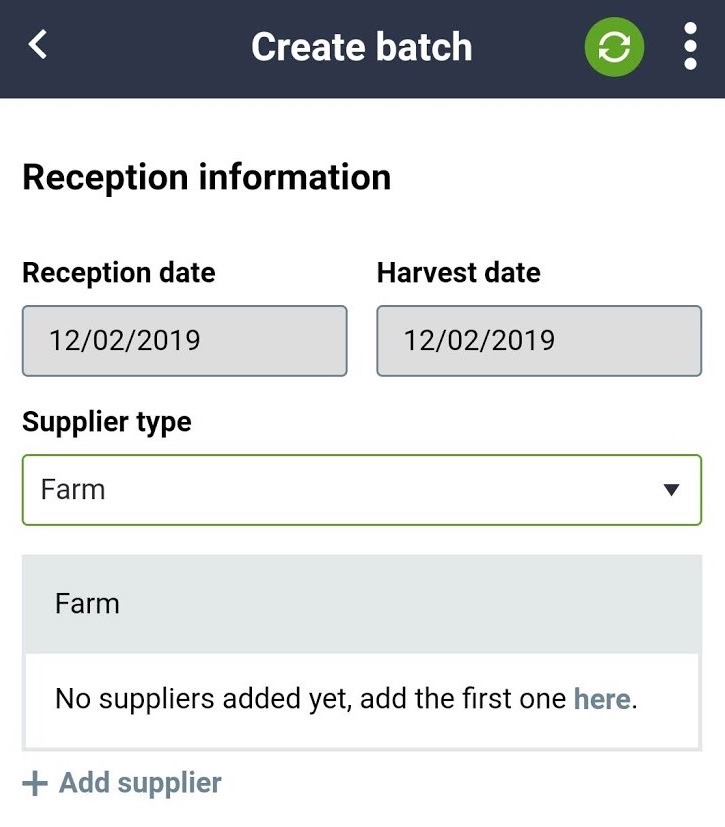 If you have selected a supplier type and entered a supplier, the supplier type will become disabled. In order to change the type, you will need to remove all entered suppliers from the boxes. Once all suppliers are removed, the type selection will become
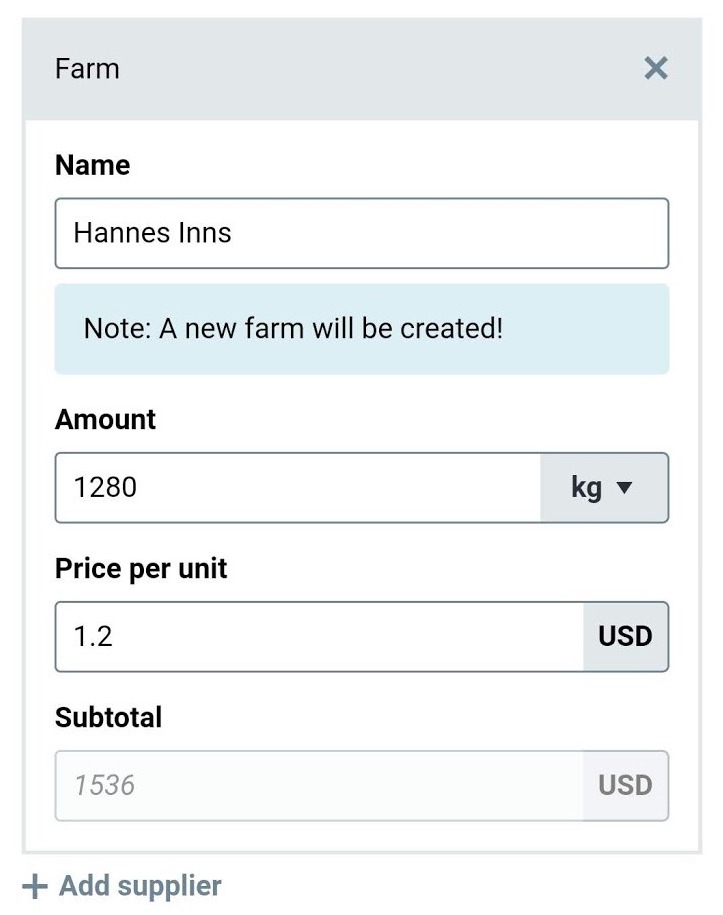
 - Choose the name of the Supplier, or enter a new name.
If a new name is entered, then a new supplier will be created. - Enter the Amount received from this supplier and select the unit the coffee is measured with.
- Enter the Price per unit (=the amount paid to each supplier). (optional field)
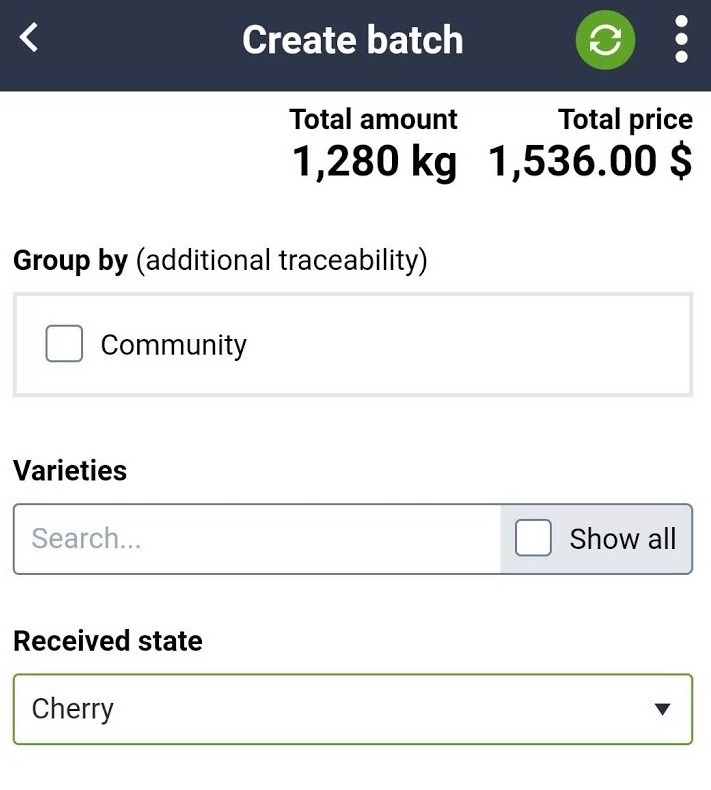
- To provide Additional Traceability, it is also possible to Group by the following fields: (optional)
- Community - A group of farms
- Farm - A group of fields
- Field - A group of pickers
- Select a Variety (= the genetic type of coffee e.g. Ethiopian Heirloom). (optional)
When selecting the Varieties, check the Show all box then tap the name of each variety that is part of the lot. When you are finished, uncheck the Show all box again to hide the remaining varieties. - Choose a Received state (Cherry, Dry cherry, Parchment, Wet parchment or Wet green)
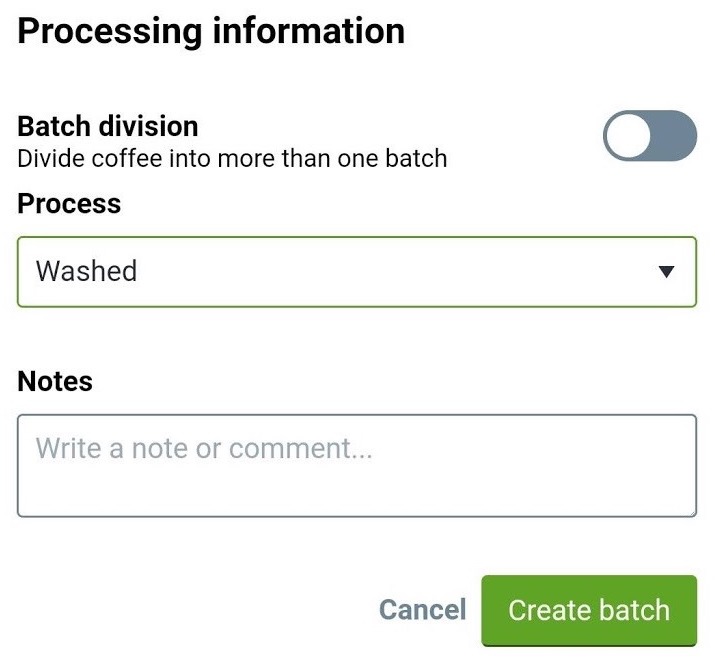
- For more information on Batch division, click here.
- Select the Process that describes how the coffee will be processed.
The processes listed will depend on the received state selected in previous steps. - Enter Notes. (optional)
- Click on Create batch to submit.
Note: To save a batch...
- At least one supplier is required.
- The received weight can’t be blank.
- The process can’t be blank.
Batch division
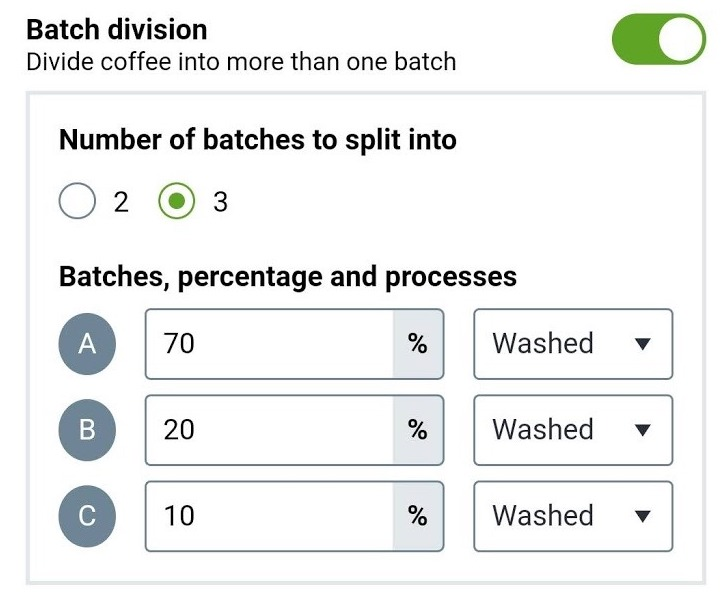
This optional feature gives you the ability to divide the coffee being delivered into 2 or 3 separate batches.
Use this if you are sorting a single delivery of coffee into different parts depending on quality.
For example: if your Wet mill uses a mechanical separator, then the floaters and under ripe cherries will be divided from ripe cherries; and each part can be tracked individually using batch division.
To add a batch division during coffee registration:
- Click the toggle button next to Batch division.
- Choose the number of batches the coffee should be divided (2 or 3)
The divided Batches are labelled A, B, (C) - Enter a number into each percentage field next to the Batch labels. The sum of all the numbers must equal 100%.
- Select the Processes that describe how each of the divided Batches will be handled by the Mill.
Note: You cannot change the number of Batch divisions after coffee has been registered.
Browsing batches
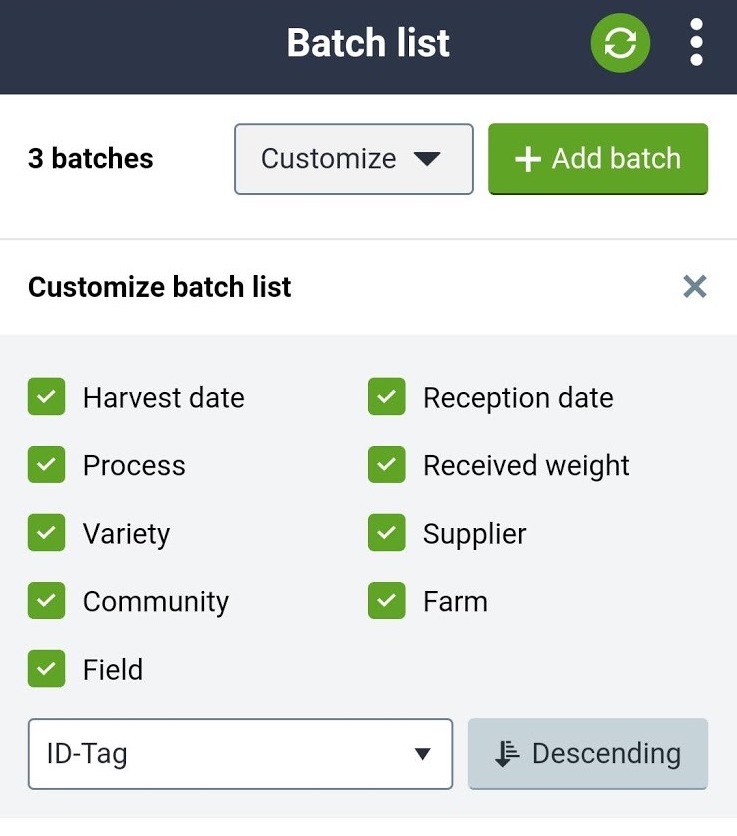
- On the Batch list there is a Customize button next to +Add batch.
- Using the Customize menu it is possible to show or hide the following fields:
- Harvest date
- Reception date
- Process
- Received weight
- Variety
- Supplier
- Community
- Farm
- Field
- You can also choose to sort the batch list in ascending or descending order.
- When you are finished using the Customize menu, press the X in the top-right hand corner of to hide the Customize menu from view.
Managing batches
Unsynced batches
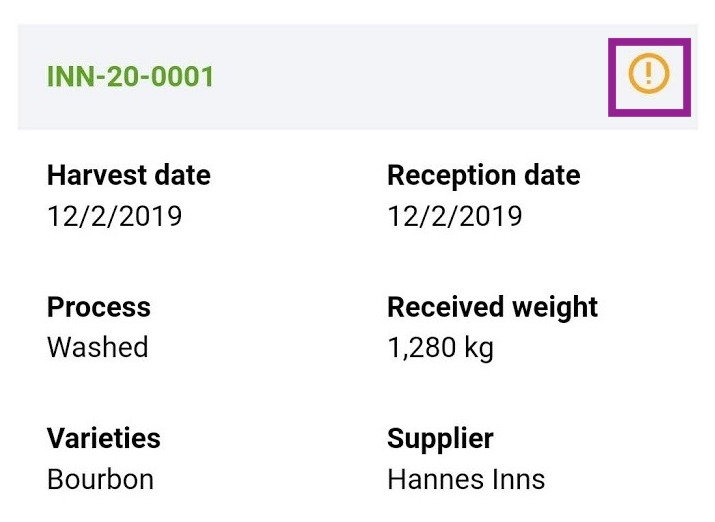
A batch that has not yet been synced has the (!) icon next to it.
We recommend synchronizing at least once a month.
Updating batch information
It is possible to update the information recorded for any unsynced batches.
- Press the ID number for the batch you wish to update.
- After you make the required changes, press the Update batch button at the bottom of the page.
- You may also choose to delete any unsynced batches.
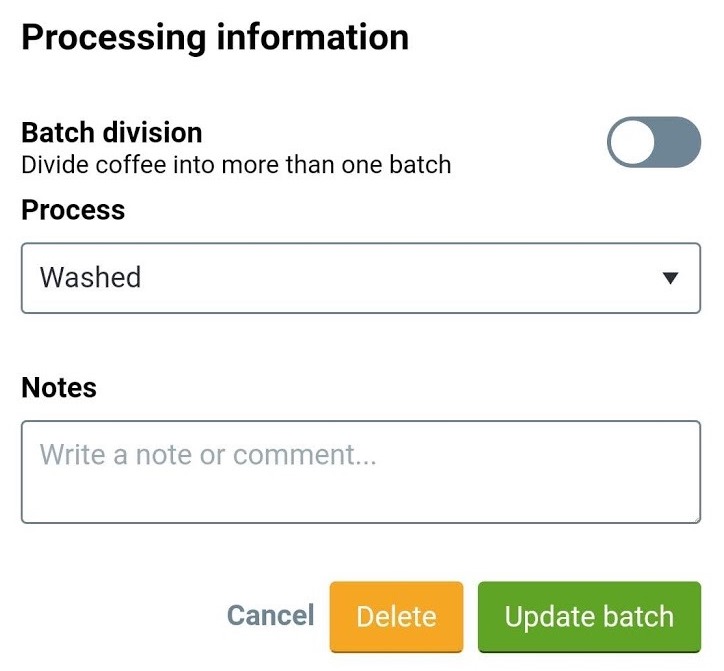
Note that deletion is irreversible.
Synchronizing the batches
Information collected with the app needs to be synced with the online platform when internet is available.
Before syncing, make sure that you are satisfied with the information for each batch.
You cannot edit this information using the app once they have been synced. Changing the information is only possible using the online access.
- Press Synchronize when you are sure the information is correct.
- A window pops up, press Synchronize to continue.
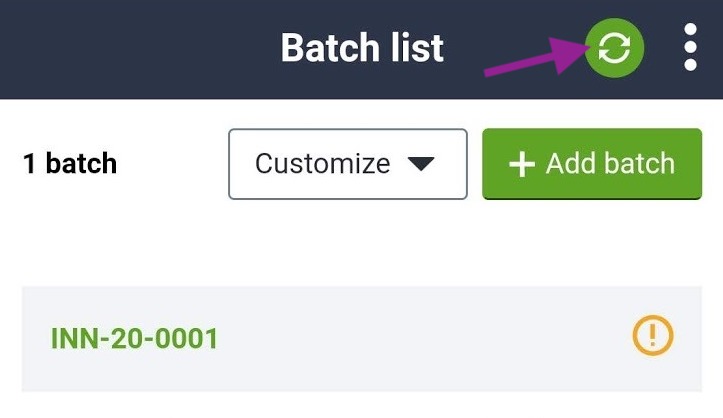
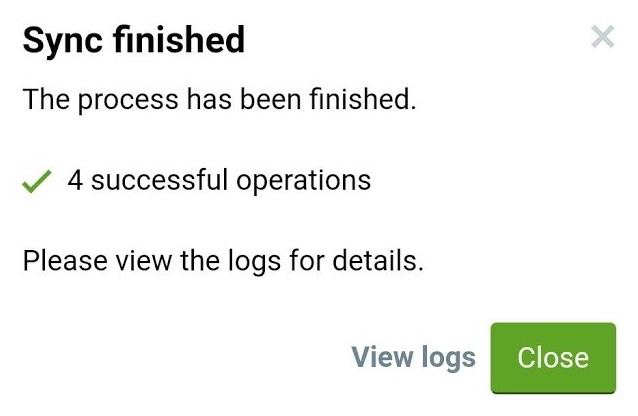
- When the Sync process is finished, a message will appear that confirms if the sync was successful or not.
- Press Close to return to the Batch list, or View logs to see any errors that may have occurred during the sync process.
The synced batches can be accessed and reviewed via the online platform c-sar.cropster.com.
Learn how to manage batches online.
Viewing logs
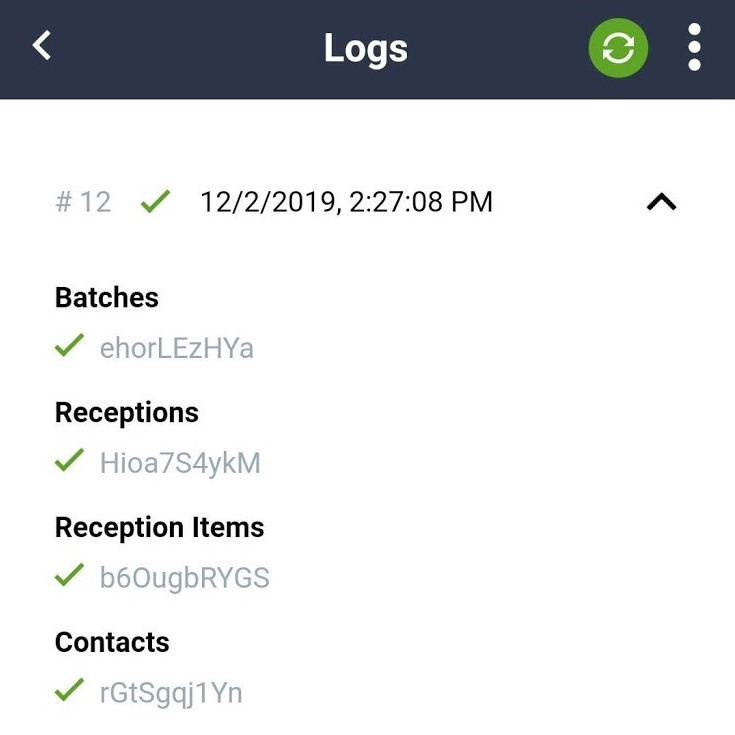
Every time the sync button is pressed a log file is created. These log files are useful if there is an error with the sync, since it will help Cropster solve the problem.
- To view the logs, press the 3-dot Menu button in the top right corner of the screen, next to the sync button.
- From the list press View logs.
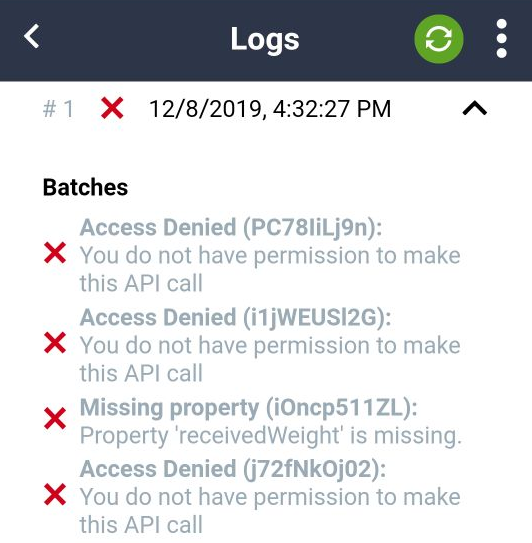
- The list is ordered with the most recently created log first. The date and time the log was created is visible alongside a green checkmark (for a successful sync) or a red X (if the sync missed or contains at least one unsuccessful item). By pressing the arrow to the right of the log you can show or hide the details.
Troubleshooting
When you have an error during sync, it is important that you let Cropster know about it. Please take a screenshot of the log file for the unsuccessful sync, or write the Error message in an email to: origin-support@cropster.com.
Please send us the following information if you encounter a syncing problem: